How to create zigzag shapes in Adobe Illustrator
Firstly
The article I posted last time was about troubleshooting, but this time, I’ve written an article on how to create zigzag design that can often be seen on overseas sites or designs for business cards in Illustrator.

This is a sample of a business card and the design is like this.
You can create from sharp zigzags to wavy lines.
Step 1

Draw a horizontal line by using the Line Segment Tool selected from your Toolbar
The fill color is none and the width of the stroke is 1pt.
Step 2
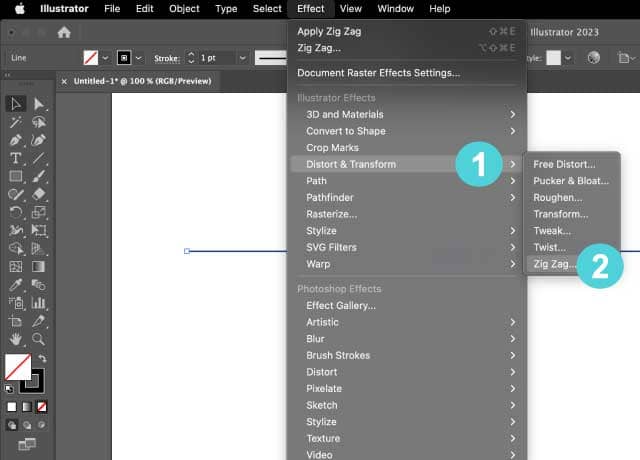
Go to Effect > Distort & Transform > Zig Zag
Step 3

Adjust the number of “Size” and “Ridges per segment” as you like
Check preview so that you can see the changes in real-time.
Size: As the number increases, the peaks will become bigger.
Ridges per segment: As the number increases, more peaks will appear.
If you choose “Smooth“, the corner becomes round, and
if you choose “Corner“, the corner becomes sharp.
Now if you just want to jag lines, you can be over by finishing these steps, but in my case, I’d rather use the zigzag design as shapes in most cases than use it editing lines.
As the sample image I showed above, if we want to use a favorite shape cropped by zigzag lines, what should we do?
Let’s continue where we left off!
Step 4
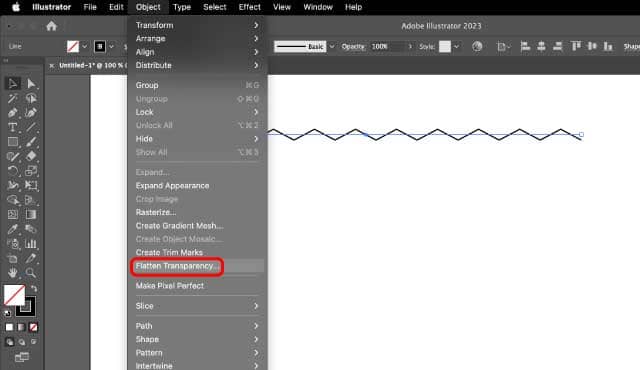
Go to the overhead menu, click Object > Flatten Transparency
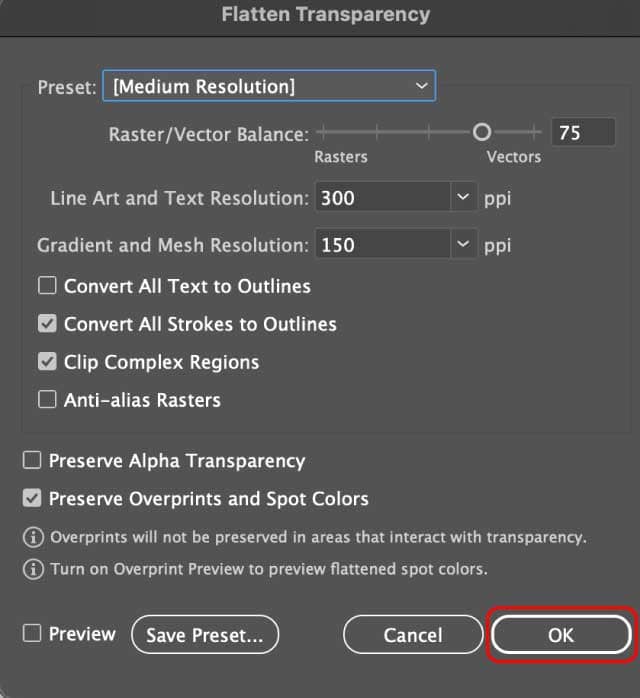
You’ll see a pop-up Flatten Transparency setting window.
Just click OK.
Step 5
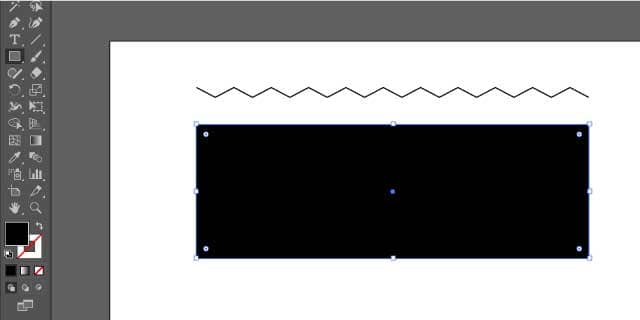
Create a rectangle which has the same width as the total length of the line
The fill color is black and the stroke color is none.
Step 6
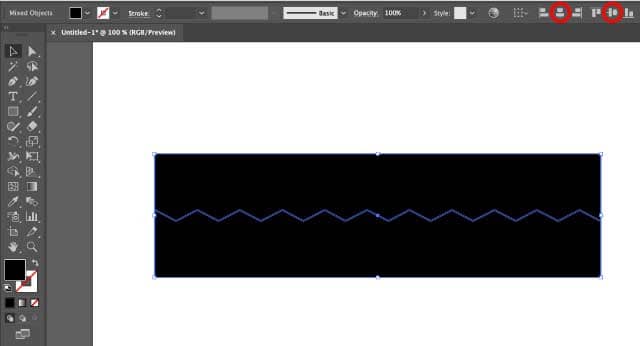
Use the Align Objects tool to align the rectangle and the zigzag line to Artboard
Step 7
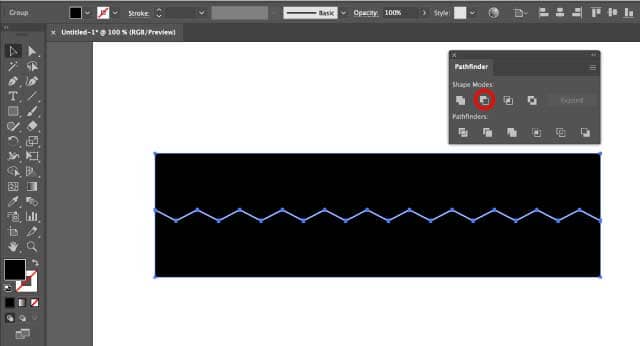
With the two objects selected, go to Pathfinder > Minus Front
Step 8
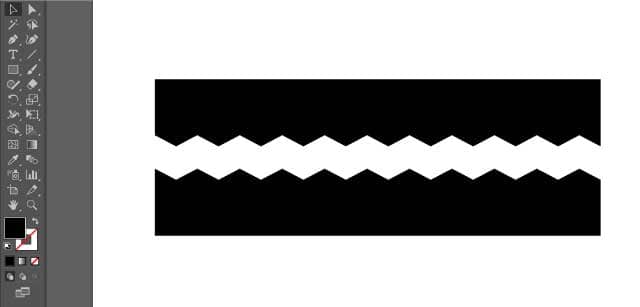
Separate the two shapes and that’s it!
Lastly
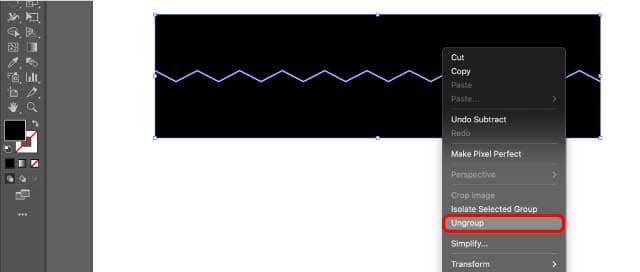
The rectangle is cropped by the zigzag lines, but they are grouped together as a shape, so you’ll need to select the object with the Selection Tool, right-click on the object and select Ungroup.
You can separate them.
You may also like:

WordPress not updating properly in XAMPP

This is my first EDM

Dream
Pipe wrench

Life in the countryside is far from easy

Leave a Reply